



Why Professional Irrigation System Set Up Transforms Your Cape Cod Property
Why Install an Irrigation System & Choosing the Right Type
So, why should you install an irrigation system? The answer is simple: it transforms your watering routine from a chore into an efficient, automated process that benefits both your landscape and your wallet. An irrigation system provides a consistent, efficient garden watering system, saving time, reducing water wastage, and promoting healthier plant growth. This consistency encourages deep root growth, making your plants more resilient, and can even prevent common plant diseases often caused by inconsistent moisture.
A well-planned irrigation system design along with a properly functioning smart controller can save a couple hundred gallons of water per day. This is especially important when you consider that residential outdoor water use in the United States accounts for nearly 9 billion gallons of water each day, mostly for landscape irrigation. As much as 50 percent of this water is wasted through overwatering caused by inefficiencies in irrigation methods and systems. By choosing the right system, we can drastically cut down on this waste.
Choosing the best irrigation system for your garden depends on several factors, including your landscape’s size, plant types, soil conditions, and your budget. Let’s explore the main types:
| System Type | Best Use Case | Water Efficiency | Installation Difficulty | Typical Cost (DIY) |
|---|---|---|---|---|
| Drip Irrigation | Garden beds, containers, vegetable gardens, individual plants | Excellent | Easy | Low |
| In-Ground Sprinkler | Large lawns, open areas, ground cover | Good | Moderate to Difficult | Moderate to High |
| Soaker Hose | Row crops, hedges, garden beds | Good | Easy | Low |
Drip Irrigation Systems
Drip irrigation is our go-to recommendation for precision watering. It’s ideally suited for gardens with mixed plantings, including vegetable beds, perennial borders, and containers. The magic of drip systems lies in their ability to deliver water slowly and directly to the roots of your plants, minimizing evaporation and significantly reducing water waste. This targeted approach means less water for weeds, helping to keep your garden tidier.
Drip irrigation systems are incredibly efficient because they work by applying water directly to the soil and plants, preventing overwatering and ensuring every drop counts. While they might need to run for hours, not minutes (for example, 5 hours to deliver 1 inch of water), this slow delivery ensures deep saturation. Most drip systems operate effectively at lower pressures, typically between 15-30 PSI. However, it’s worth noting that the tiny emitters in drip systems can be prone to clogging, so a good filter and regular flushing are essential.
For more in-depth information on setting up this water-wise option, explore our dedicated guide on Drip Irrigation System Installation.
In-Ground Sprinkler Systems
For larger, open areas like expansive lawns or ground cover, in-ground sprinkler systems are often the most practical choice. These systems are designed to provide comprehensive coverage, ensuring every blade of grass receives the water it needs. A key concept in sprinkler design is “head-to-head coverage,” where the spray from each sprinkler head reaches the adjacent head, ensuring 100% overlap and eliminating dry spots.
We consider the radius and arc of each sprinkler head carefully to achieve complete coverage across your lawn. There are different types of sprinkler heads, including pop-up sprinklers that retract when not in use and various rotor heads designed for different spray patterns and distances. An irrigation system typically needs water pressure from 40 to 65 PSI, depending on the specific sprinkler heads used. If you notice sprinkler heads producing a fine mist rather than a distinct spray, the pressure might be too high. Conversely, if heads aren’t popping up fully or spraying far enough, you could be dealing with low water pressure.
Find more about tailoring these systems to your lawn’s needs on our page dedicated to Lawn Sprinkler Systems.

Soaker Hose Systems
Soaker hoses offer a simple and effective watering solution, particularly for targeted watering in garden beds, rows of plants, or along hedges. These hoses are made from a porous material that seeps water slowly and directly into the soil, similar to drip irrigation but typically covering a broader, linear area.
While soaker hoses are generally easy to set up and more budget-friendly for smaller applications, they are often less precise than drip systems in terms of water delivery to individual plants. They can also be less durable over time, sometimes requiring replacement more frequently than other irrigation components. However, for straightforward garden layouts where you need consistent, low-pressure watering along a line, soaker hoses are a fantastic option.
Essential Planning & Preparation Before You Begin
Smart planning is the difference between a smooth installation and a season of headaches. A concise site plan, accurate water-supply data, and the right materials ensure your irrigation system set up runs efficiently and complies with local codes.
Mapping Your Garden and Creating Zones
Measure your lot and draw a quick overhead sketch that shows the house, hard-scape, beds, trees, sunny vs. shaded areas, and grade changes. Group plants with similar water needs into individual zones (e.g., lawn, annual beds, drought-tolerant borders). Zoning lets you tailor run times, save water, and makes future expansion easy. Note your soil: the sandy mixes common on Cape Cod drain fast and usually need shorter, more frequent cycles than heavier clays.
Checking Water Pressure and Flow Rate
Attach a pressure gauge to an outside faucet (all other fixtures off) to record working PSI. Next, fill a 5-gallon bucket and time the fill; (5 ÷ seconds) × 60 = GPM. PSI and GPM determine how many sprinkler heads or drip emitters fit on a zone. If pressure is high, add a pressure regulator; if debris is likely, add a filter. See how smart devices harness this data on our page about Smart Irrigation Solutions.
Confirm local rules here: Check with your local water authority for irrigation system regulations. Always call 811 a few days before digging so utilities are marked.
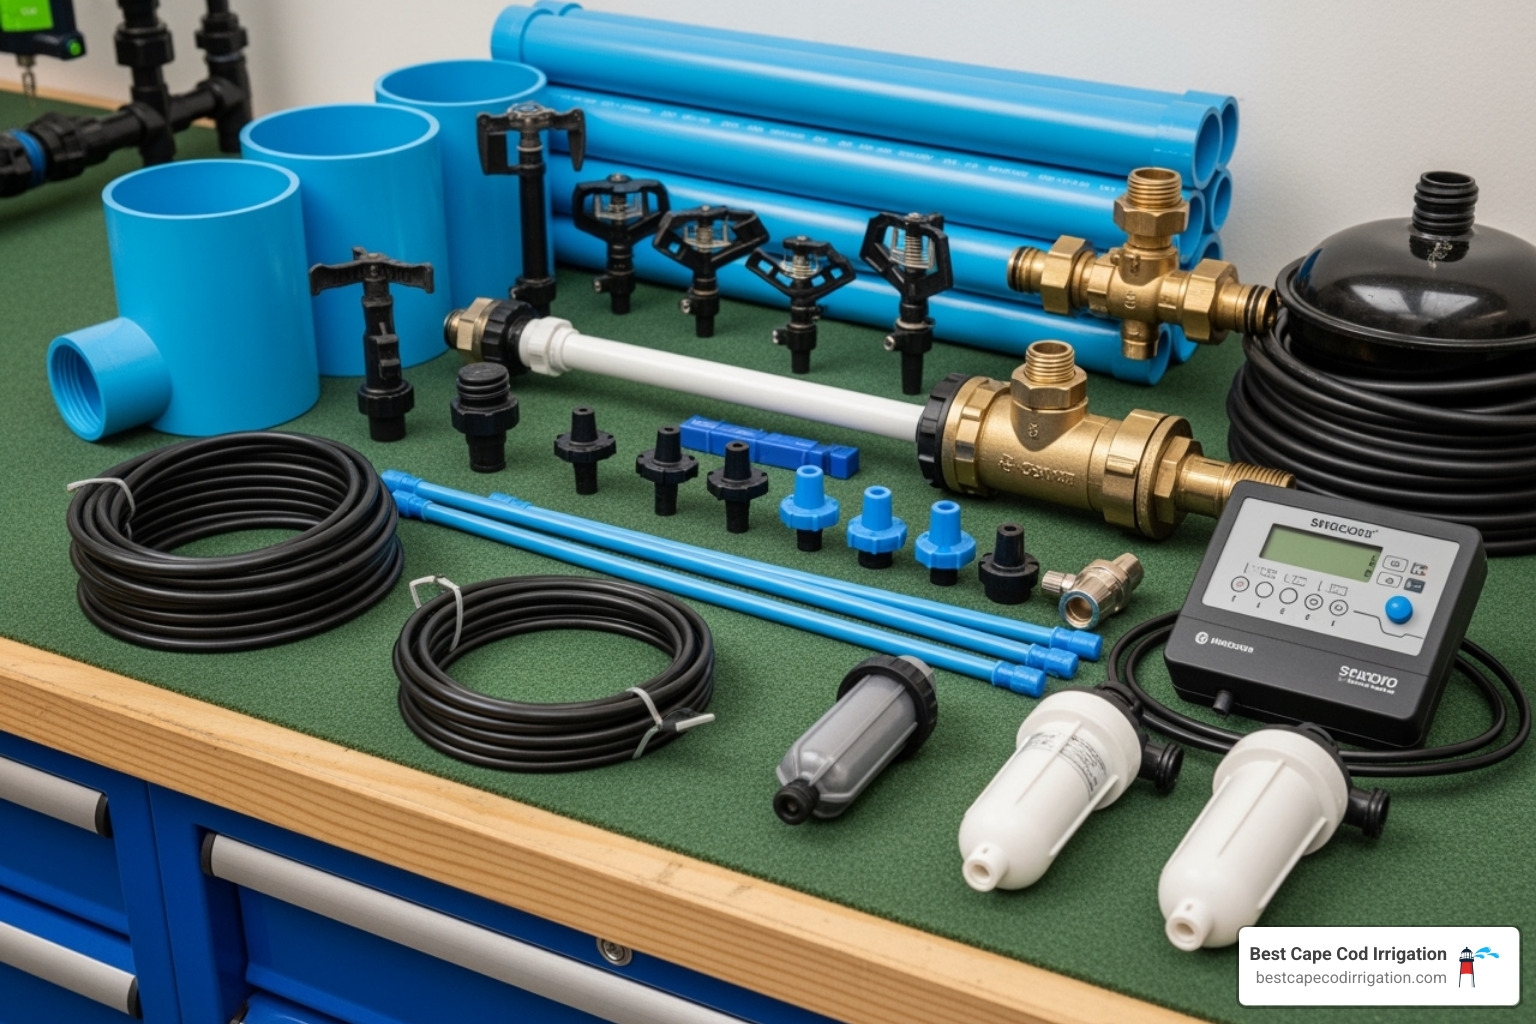
Gathering Your Tools and Materials
Have everything on-site before you break ground:
- Pipe: rigid PVC or flexible poly
- Fittings: elbows, tees, couplings, adapters
- Zone valves in a valve box, main shut-off, and backflow preventer
- Sprinkler heads or drip emitters matched to plant needs
- Controller/timer (smart models recommended), pressure regulator, filter
- Shovel, trenching tool or vibratory plow, pipe cutter, thread-seal (Teflon) tape
- Waterproof wire connectors, measuring tape, stakes/string or marking paint
Stocking up first prevents mid-project runs to the store and keeps installation time—and mess—to a minimum.
Your Step-by-Step Guide to Irrigation System Set Up
Now that we’ve carefully planned, gathered our materials, and checked for utilities, it’s time for the physical irrigation system set up. Safety first! Always turn off your main water supply before connecting to your home’s plumbing. Also, protect your pipes from debris during installation by capping open ends.
Step 1: Connect to the Water Source and Install Key Components
We begin by identifying and connecting to your main water source. This is typically done at an outdoor spigot or by tapping into the main water line from your home. Immediately after this connection, we install a shut-off valve. This allows us to easily turn off water to the irrigation system for maintenance or winterization without affecting your home’s water supply.
Next, we install the backflow preventer. This device is non-negotiable for protecting your drinking water from potential contaminants from your irrigation system. Following the backflow preventer, we often install a filter to prevent debris from clogging emitters (especially vital for drip systems) and a pressure regulator to ensure consistent water pressure throughout the system.
Finally, we assemble the valve manifold. This is where your individual zone valves are grouped together, each controlling a different section of your landscape.
Step 2: Dig Trenches and Lay the Main Line
With the initial connections made, it’s time to prepare the ground. We mark our trench lines with stakes and string or marking paint, following our detailed design plan. For most residential systems, trenches should be dug 6 to 12 inches deep. This depth protects the pipes from damage due to aeration, light digging, and provides some insulation against freezing in colder climates.
For larger areas, we might use a vibratory plow, which pulls pipes underground with minimal disruption. However, around existing utilities (which we confirmed with 811!), we always hand-dig carefully to avoid striking lines. When encountering obstructions like driveways or walkways, we bore under them using specialized tools to avoid damaging existing structures. As we lay the main line from the water source to the valve box locations, we ensure the pipes are clean and free of debris. Always use a proper pipe cutter for clean, precise cuts – avoid using a saw, which can leave burrs and compromise connections. Remember to leave a little room for pipe expansion and contraction.
Step 3: The Physical Irrigation System Set Up Process
Once the main line is in place, we run the lateral lines (the pipes that branch off to water specific areas) from the valve manifolds. We use appropriate fittings like T-connectors and elbows to create the desired layout. When connecting pipes, ensure each connection is tight to prevent leaks. We always use thread seal tape on threaded joints to improve the seal and prevent drips.
For sprinkler systems, we install the sprinkler heads along the lateral lines, paying close attention to the radius and arc of each head to achieve complete, head-to-head coverage. Using swing pipe for sprinkler head installation provides flexibility, allowing for easy adjustment and protection from damage. For drip systems, we place emitters close to the base of each plant to target the root zone directly, ensuring efficient water delivery.
After all pipes, fittings, and emitters are in place, but before attaching the final sprinkler heads or drip emitters, we flush the entire system. This crucial step clears any dirt or debris that may have entered the pipes during installation, preventing clogs down the line.
Step 4: Connect Wires and Program the Controller
The final step in the physical irrigation system set up is bringing it to life! We run multi-strand irrigation wire from the controller to each valve box, ensuring all wires are protected from the elements. Inside the valve box, we connect the wires to the solenoid of each zone valve using waterproof connectors.
Next, we mount the controller in a convenient, protected location, typically a garage or utility room. This is the brain of your system, allowing us to program your watering schedule. We set the zones, determining which parts of your garden will water at what times and for how long. We always recommend opting for early morning or late evening watering times to reduce evaporation and ensure water reaches the roots.
Consider upgrading to smart controllers, which can integrate with weather data or soil moisture sensors to optimize watering and save even more water. These smart systems, along with Water-Efficient Sprinklers, are excellent investments for long-term water conservation.
Testing, Troubleshooting, and Long-Term Maintenance
With pipes buried and heads installed, it’s time to prove that your irrigation system set up works as designed. Before attaching the final sprinkler heads or drip emitters, open the main line and flush the system for a minute or two to wash out sand or PVC shavings that could clog emitters later.
Testing and Adjusting Your New System
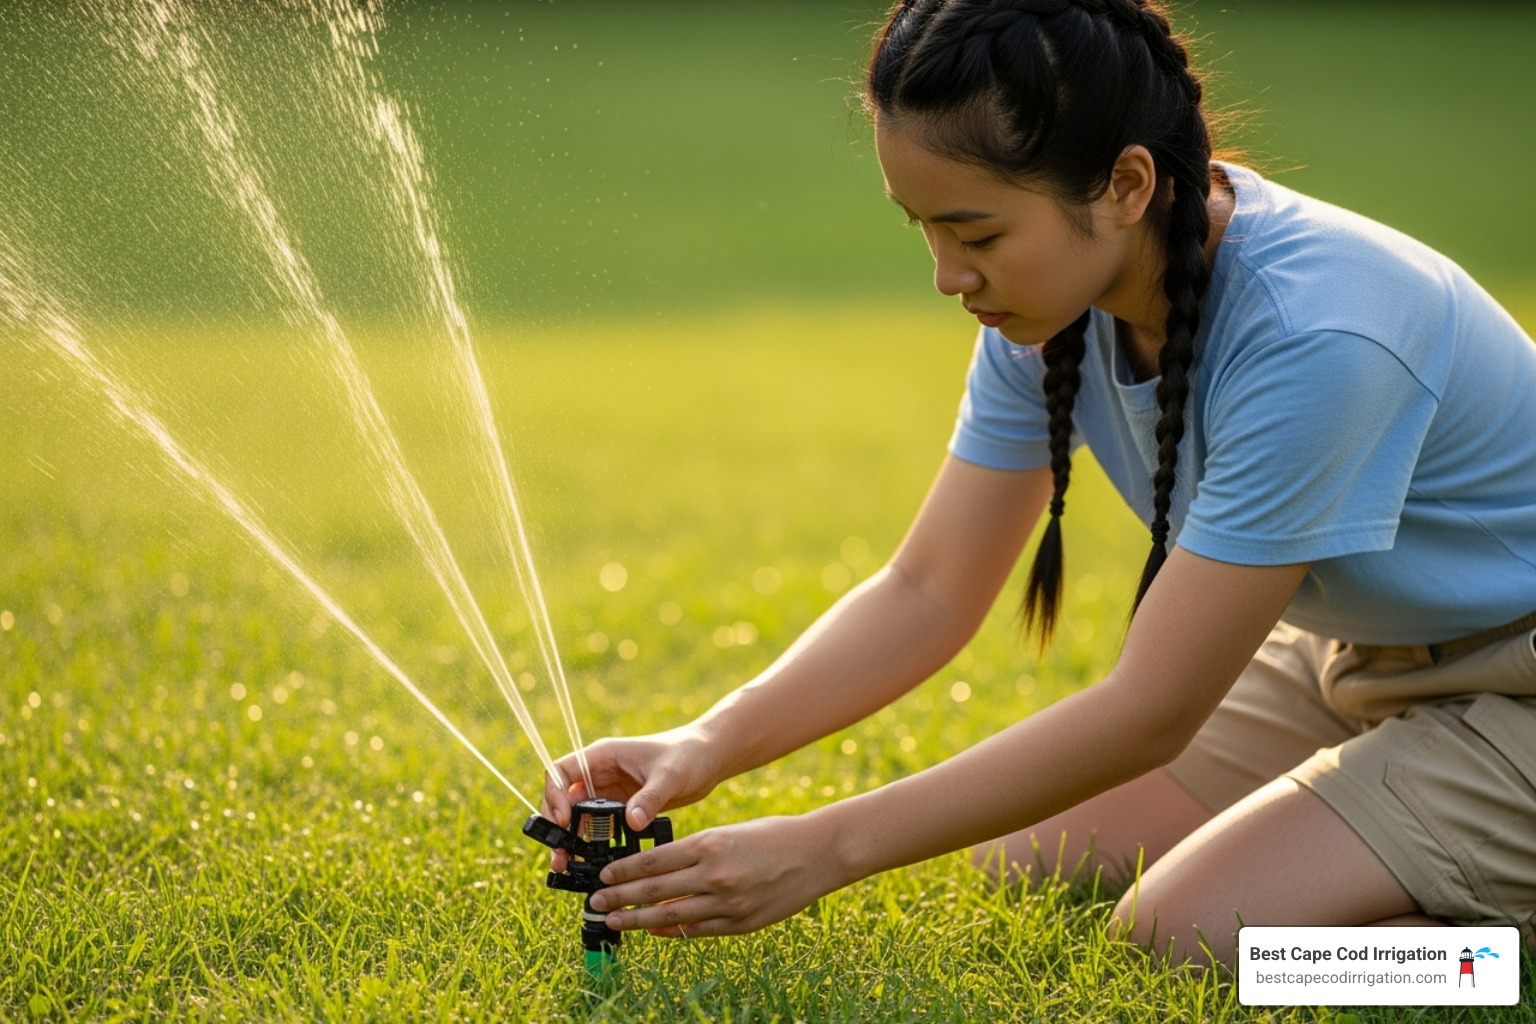
- Activate one zone at a time and walk the line, tightening damp fittings and looking for puddles that signal hidden leaks.
- For sprinklers, tweak radius and arc until sprays overlap “head-to-head.” For drip, verify each emitter flows at the root zone.
- Use catch cups to measure output and adjust controller run times so the landscape receives about 1 inch of water per week.
Common Troubleshooting
- Low pressure – clogged filter, partially closed valve, or too many heads on one zone
- Clogged heads/emitters – remove and rinse; install a finer filter if it repeats
- Wet spots or unusually green patches – an underground leak likely needs repair
- Entire zone silent – check controller program, valve solenoid, or damaged wire
- Uneven coverage as plants mature – realign or raise heads so spray is unobstructed
Seasonal Maintenance and Winterization
Inspect the system each spring and mid-summer: clean filters, replace worn nozzles, and reset schedules as weather changes. On Cape Cod, freezing temperatures mean winterization is mandatory—we blow out every line with compressed air and shut off the water supply to prevent costly freeze damage.
Periodic technology upgrades, such as a smart controller or high-efficiency nozzles, can cut water use by up to 50 percent and keep your landscape thriving year-round.
Frequently Asked Questions about Irrigation Installation
It’s natural to have a few questions when you’re thinking about adding an irrigation system to your home. We’ve heard a lot of them over the years, and we’re always happy to share our insights. Here are some of the most common questions we get asked about setting up an irrigation system set up:
How much does an irrigation system set up cost?
The thought of automating your watering often brings up the question of cost, and it’s a great one! The truth is, the cost for an Irrigation System Installation can vary quite a bit, much like building a house or buying a car. Based on data we see across the internet, a simple DIY setup for a smaller area might start around $500. However, for a professional installation on a larger property or with more complex landscaping, you could be looking at $5,000 or even upwards of $15,000. These are just general estimates based on widely available internet data and aren’t specific quotes for Best Cape Cod Irrigation services.
What makes the price tag change so much? Well, it depends on a few key things. Are you leaning towards a simpler drip system for garden beds, or a comprehensive in-ground sprinkler system for your entire lawn? The size and complexity of your landscape also play a big role, as do the quality of materials used and whether you decide to tackle the installation yourself or bring in the professionals. Each project is unique, and we always aim to find a solution that fits your needs and your budget.
How deep should irrigation pipes be buried?
This is a really important question for the longevity of your system! For most residential irrigation lines, we recommend burying them at a depth of 6 to 12 inches. This range is pretty standard and serves a few crucial purposes.
First, burying them at this depth helps protect your pipes from accidental damage. Think about lawn aeration, or even just some light digging in your garden — a pipe buried too shallow could easily get nicked or broken. Second, in colder climates like ours here on Cape Cod, burying pipes deeper provides a bit of insulation against freezing temperatures. While winterization is still absolutely essential, this depth offers a little extra safeguard against costly repairs that can come from burst pipes. It’s all about keeping your system safe and sound for years to come.
How much water does a lawn need?
Understanding how much water your lawn truly needs is key to efficient watering and a healthy landscape. Generally speaking, most lawns thrive with about 1 to 1.5 inches of water per week. This includes both the water your irrigation system provides and any rainfall your lawn receives. It’s easy to think that frequent, shallow watering is best, but that’s actually not the case!
Our best advice is to water deeply and infrequently. Instead of sprinkling your lawn for a few minutes every day, aim for one longer watering session a few times a week. This encourages the grass roots to grow deeper into the soil, making your lawn much more resilient to dry spells and overall healthier. It helps your lawn become more self-sufficient, requiring less hand-holding (or constant watering!) from you.
Conclusion: Enjoy a Healthier Garden with Less Effort
An expertly installed and properly maintained irrigation system truly is a game-changer for any landscape. It’s all about saving you precious time, conserving vital water, and cultivating a healthier, more vibrant garden. Imagine a lush, green lawn and thriving plants, all without the daily chore of hand-watering or the constant worry of inconsistent hydration. That’s the beautiful promise of a well-designed irrigation system set up.
While a DIY irrigation system set up can certainly be a rewarding project, especially for smaller gardens or straightforward drip systems, complex landscapes or the need to meet local regulations can make professional help an incredibly smart choice. This is precisely where Best Cape Cod Irrigation shines! For residents across Cape Cod, including towns like Bourne, Sandwich, Mashpee, Falmouth, Barnstable, Yarmouth, Dennis, Harwich, Brewster, and Chatham, we bring over 25 years of regional expertise right to your doorstep. We’re passionate about specializing in custom, eco-friendly systems that are perfectly custom to our unique local conditions, and we love leveraging smart technology for truly efficient, worry-free watering. Our team possesses the deep knowledge, specific skills, and all the right tools to ensure your system is designed and installed correctly, fully complies with local rules, and operates at its absolute best. And, of course, to keep your system running smoothly season after season, be sure to ask about our professional openings and winterization services.
