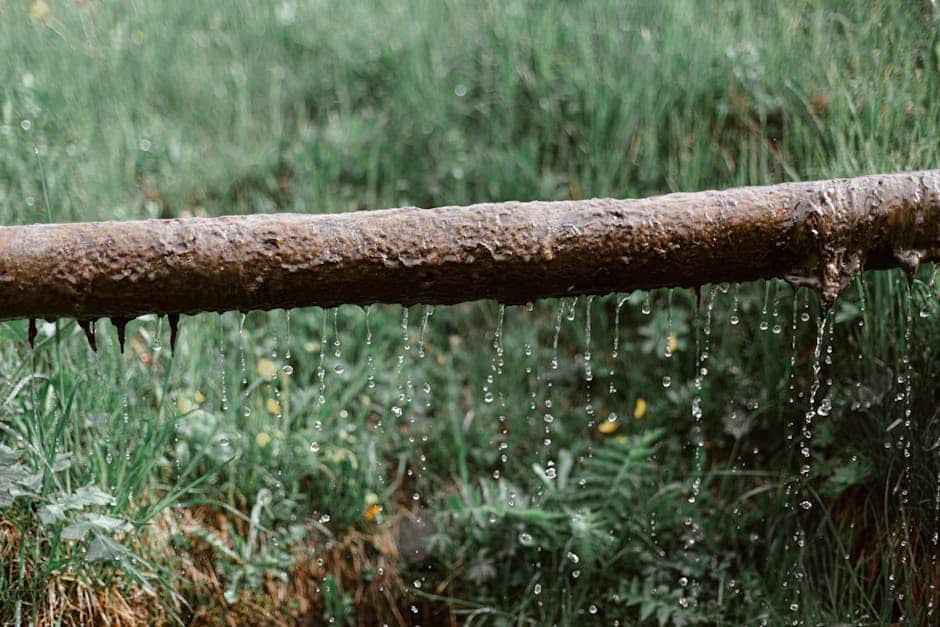



Why Cape Cod Homeowners Can’t Ignore Irrigation Pipe Leaks
Irrigation pipe leak repair is a critical skill every Cape Cod homeowner should master. Ever had that sinking feeling when you notice a puddle in your yard, and it hasn’t rained in days? You’re not alone.
Quick Answer: How to Repair Irrigation Pipe Leaks
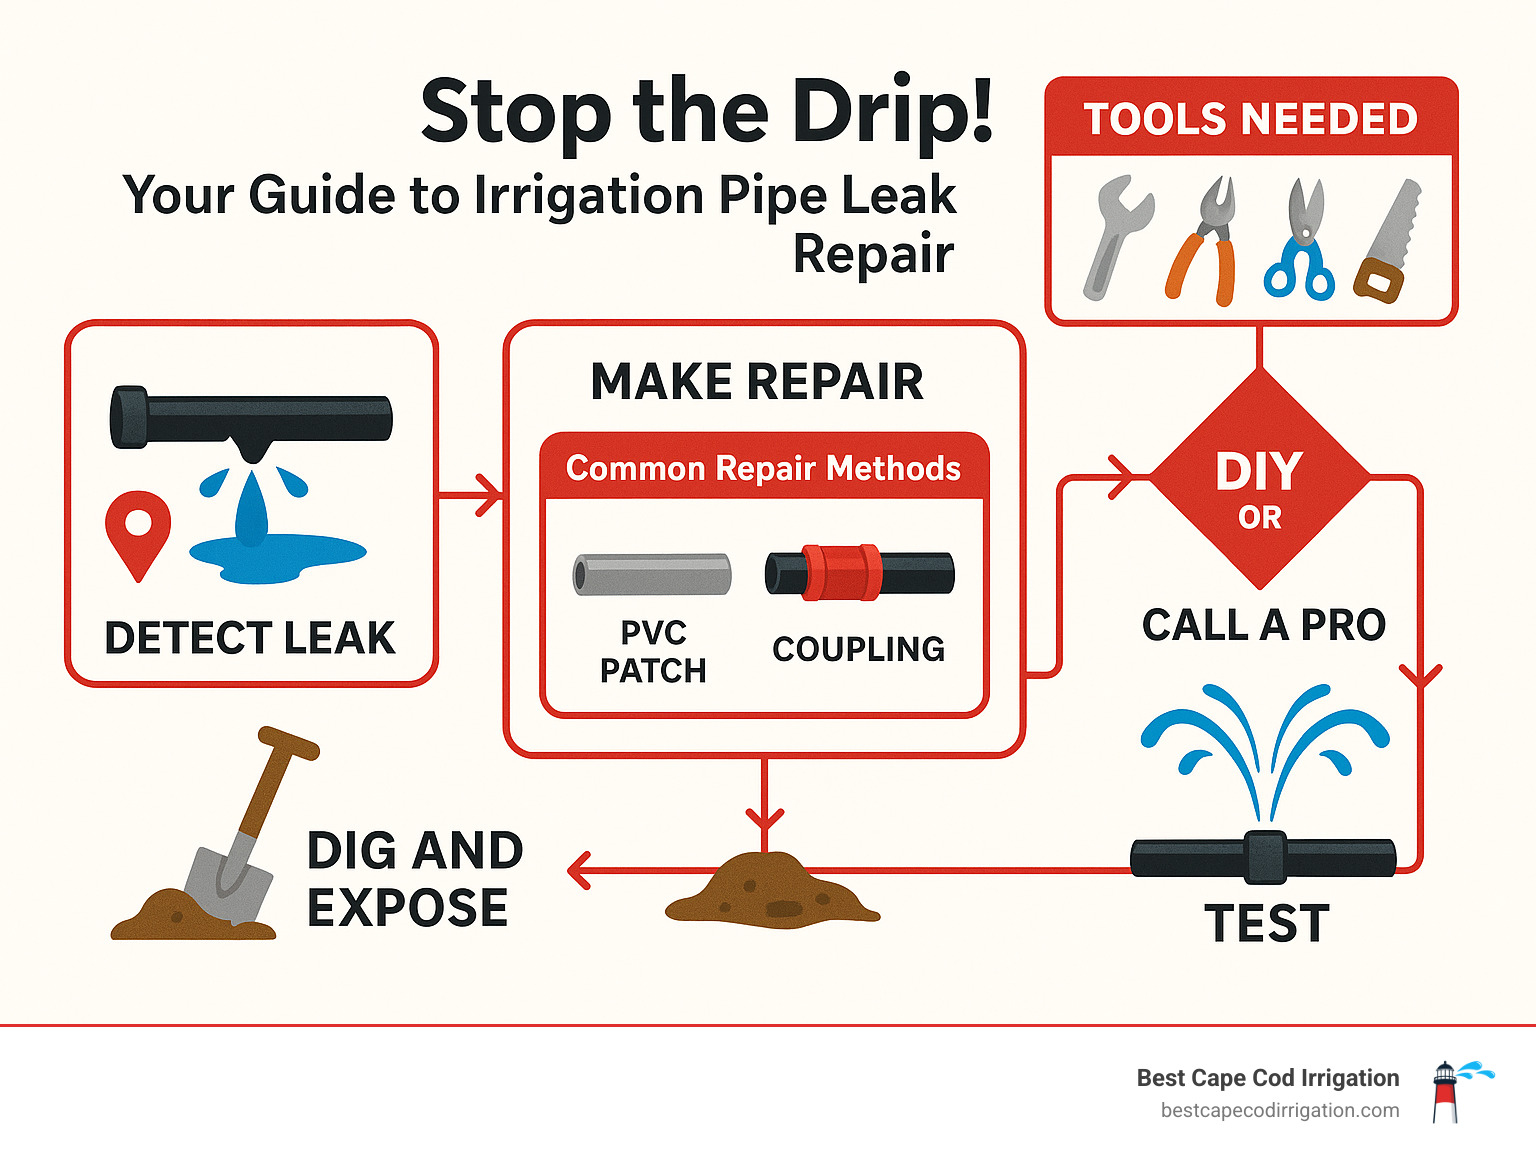
- Turn off water and locate the leak using wet spots or your water meter
- Dig carefully around the damaged area (call 811 first)
- Choose your fix: Small nicks get PVC patches, larger breaks need couplings or replacement sections
- Test thoroughly before backfilling the trench
- Know when to call a pro – complex breaks or valve box flooding need expert help
Small drips turn into big problems fast. A typical damaged irrigation pipe repair takes 2-4 hours and costs $40-70 in materials for DIY fixes. But ignoring leaks wastes water, spikes your utility bills, and damages your carefully maintained Cape Cod landscape.
The real cost of waiting? Unresolved leaks create soggy patches that kill grass, encourage mold growth, and can waste hundreds of gallons monthly. In Cape Cod’s sandy soil, leaked water drains away quickly – making detection tricky but repair even more urgent.
The good news: most irrigation pipe repairs are DIY-friendly. Whether you’re dealing with a weed-eater nick in PVC pipe or a cracked coupling in your drip system, the right tools and techniques get you back to efficient watering fast.
Spot the Leak: Common Signs & Smart Detection
Finding the source of trouble is half the battle won when it comes to irrigation pipe leak repair. Cape Cod’s sandy soil can be both a blessing and a curse – while it drains well, it also means water disappears quickly, making leaks harder to spot until they’ve been going on for a while.
Your Yard Is Trying to Tell You Something
Walk around your property with fresh eyes. Those puddles that appear mysteriously 24-48 hours after your system runs? That’s not normal Cape Cod drainage. Neither are those unusually lush, green patches of grass that look like they’re getting VIP treatment while their neighbors struggle.
Pay attention to soggy garden beds that never seem to dry out, even during our drier summer stretches. And if you notice wet spots creeping onto your patio or walkways near irrigation lines, your underground pipes are likely crying for help.
Wilting or yellowing plants in one zone while everything else thrives can indicate waterlogged soil from leaks – counter-intuitive, but waterlogged soil can actually drown plant roots.
Listen to Your System
Your ears are surprisingly good leak detectors. Those hissing sounds near sprinkler heads or emitter holes? That’s pressurized water escaping where it shouldn’t. Take a quiet walk around your system during operation – you might hear the problem before you see it.
The Detective Work: Water Meter Wisdom
Here’s a trick that’s saved countless Cape Cod homeowners from surprise water bills. Turn off your entire irrigation system and find your water meter’s low-flow indicator – it’s usually a small triangle or star that spins with water movement.
If that little indicator keeps moving after 1-2 hours of zero water use, congratulations – you’ve just confirmed a leak somewhere in your system. This test works because even small leaks create continuous flow that the sensitive meter picks up.
Valve Box Red Flags
Those green plastic boxes scattered around your yard aren’t just lawn decorations. Pop them open and look for standing water or unusual moisture. Valve connections are common leak points, and a flooded valve box is often your first concrete evidence of trouble.
Don’t forget to check for pressure drops across your system. When sprinkler heads start underperforming or your coverage becomes patchy, a significant leak might be stealing water pressure from where it’s supposed to go.
Quick Home Tests to Confirm an Irrigation Pipe Leak
The zone isolation method works like a process of elimination. Run each irrigation zone individually while walking your property. When you find the zone that creates wet spots where they shouldn’t be, you’ve narrowed down your search area considerably.
For the complete shutoff test, turn off your irrigation supply valve completely and watch your water meter’s flow indicator for 2-3 minutes. If it stops moving, your leak is definitely in the irrigation system.
The dye tablet trick sounds almost too simple to work, but it’s surprisingly effective. Drop food coloring or a dye tablet into suspected valve boxes. If colored water starts appearing elsewhere in your yard, you’ve literally traced the leak’s path through your soil.
A basic soil moisture probe becomes your underground detective tool. Check areas around suspected leaks – consistently high moisture readings in localized spots often reveal underground pipe damage that isn’t visible from the surface yet.
Gear Up Safely: Tools, Materials & Pre-Dig Precautions
Getting your irrigation pipe leak repair right starts with having the right gear and taking smart precautions. Trust me, there’s nothing worse than being elbow-deep in a muddy trench only to realize you’re missing a crucial tool or – worse yet – you’ve just sliced through your neighbor’s cable line.
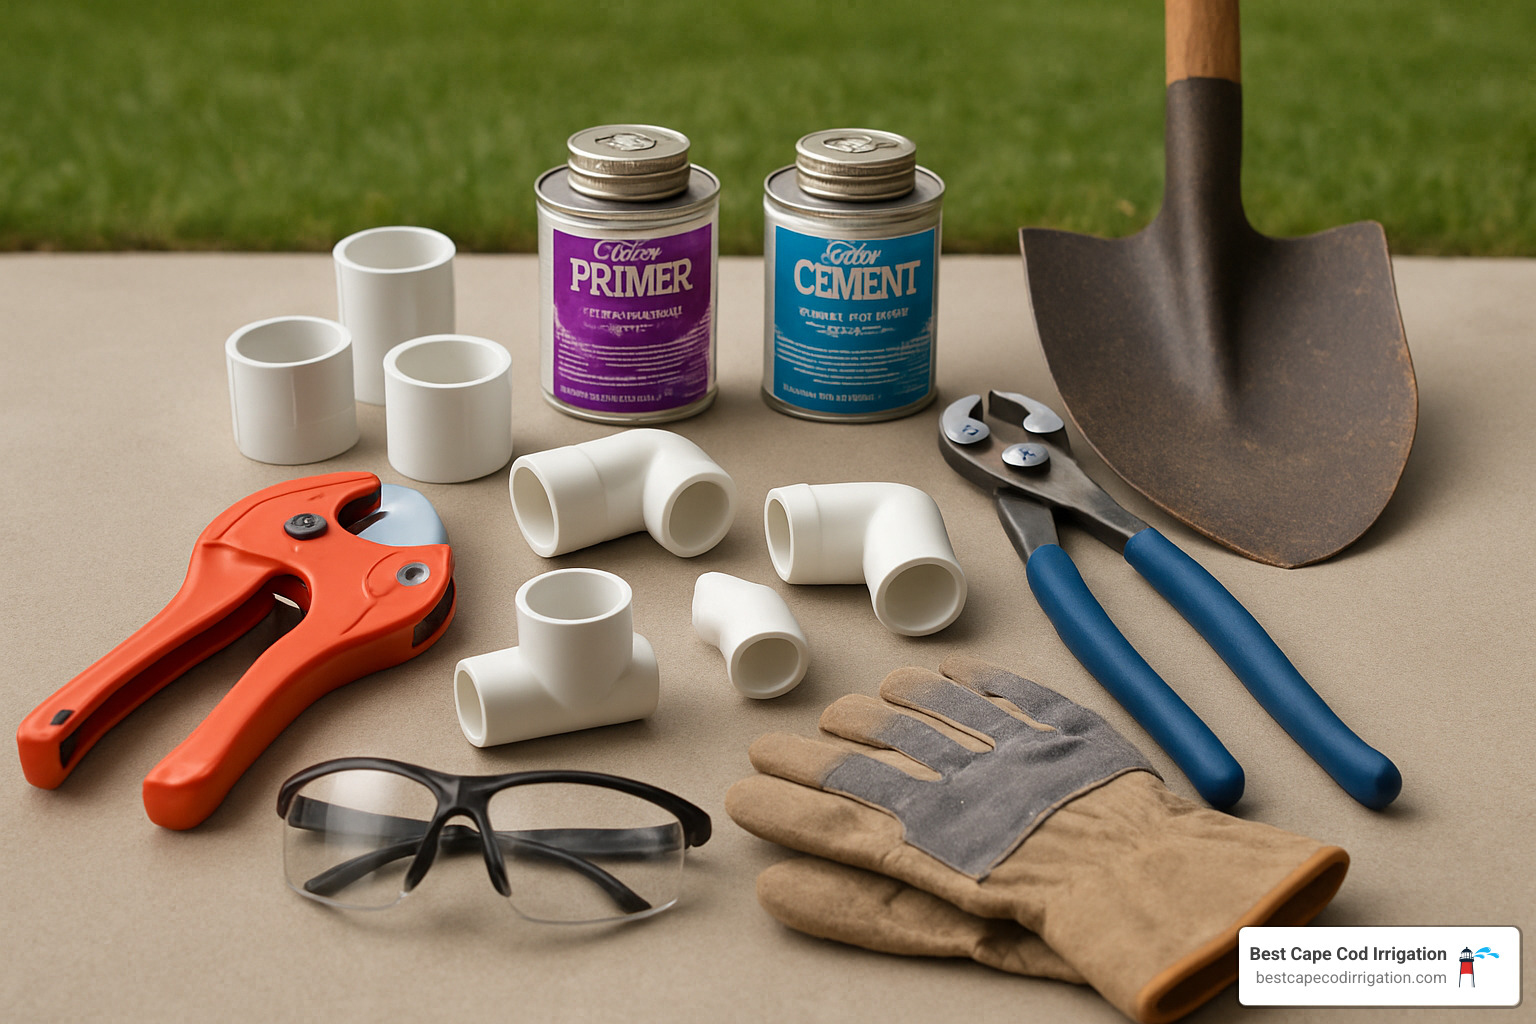
Your repair arsenal should include PVC pipe cutters for clean cuts that won’t cause future cracks, a sturdy shovel for careful excavation, and channel lock pliers for tightening compression fittings. Keep a hacksaw handy as your backup cutting tool when working in tight spaces, and don’t forget a tape measure – measuring twice and cutting once isn’t just a saying, it’s sanity insurance.
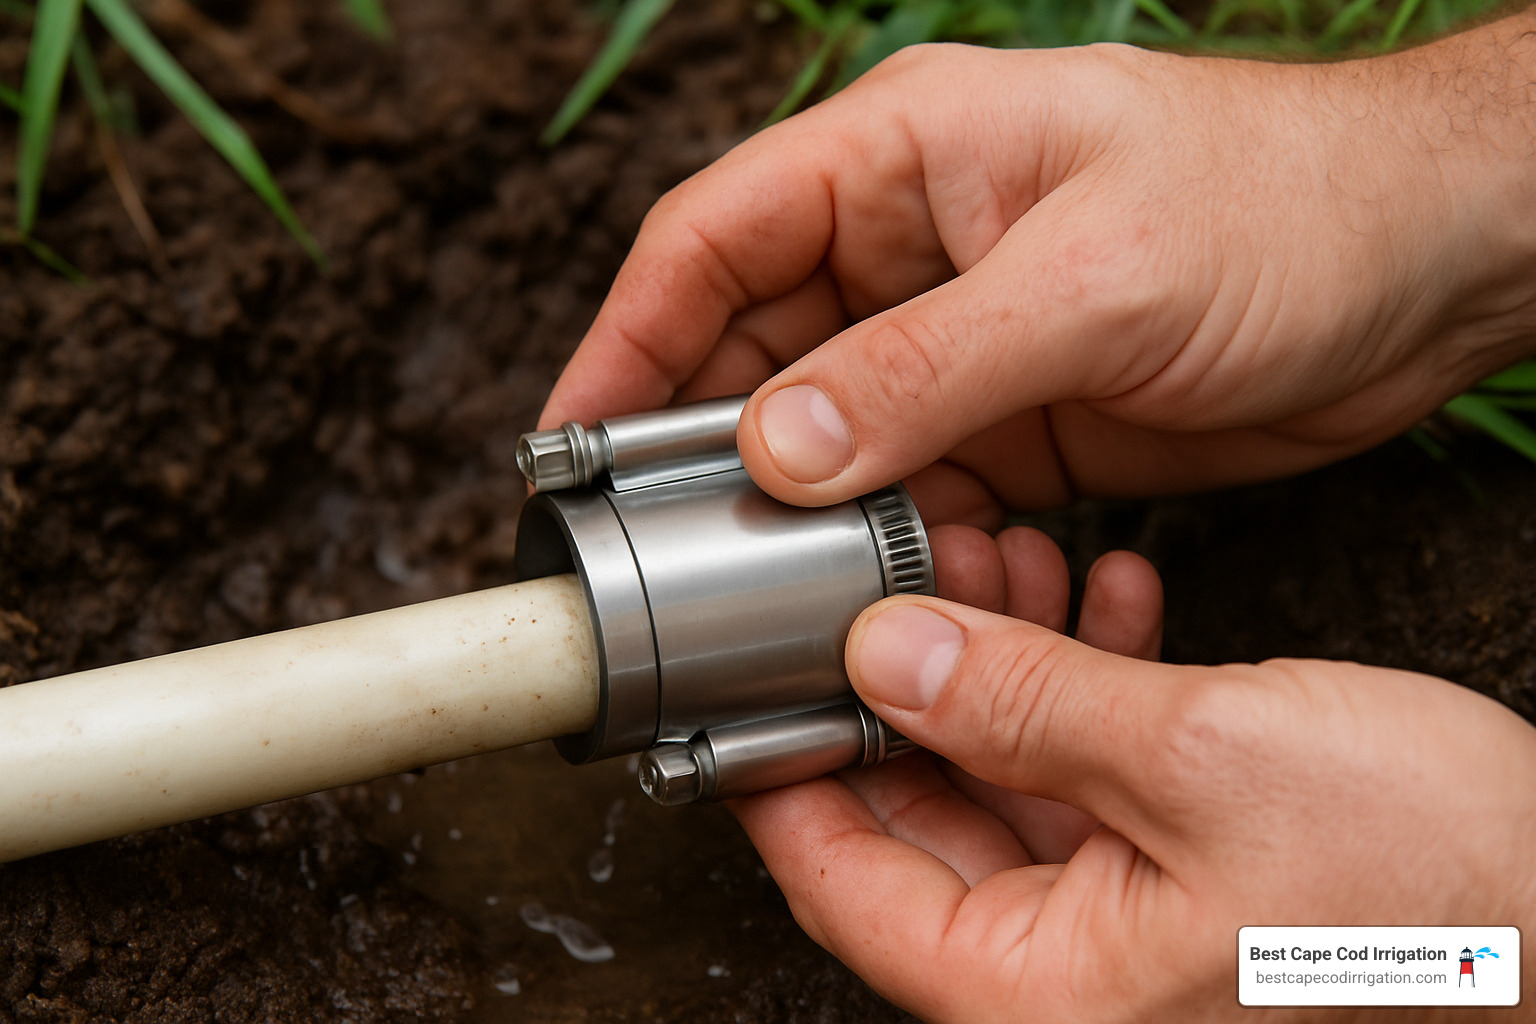
Material-wise, you’ll want compression couplings because they work on wet pipes without needing glue (a real lifesaver), PVC primer and cement for permanent joints, and epoxy putty for quick temporary fixes. Barbed fittings are essential if you’re dealing with poly or swing pipe repairs, while pipe clamps give you breathing room to plan permanent solutions.
Safety isn’t optional – safety gloves protect your hands from sharp pipe edges and harsh chemicals, eye protection is crucial when cutting pipes or using solvents, and knee pads will save your joints during those long repair sessions.
Here’s the most important step: call 811 before any digging. This free utility marking service prevents dangerous and expensive accidents. In Massachusetts, utilities must be marked within 72 hours of your call. Skip this step at your own peril – hitting a gas line turns a simple repair into a neighborhood evacuation.
Must-Have Toolbox for Weekend Warriors
Serious DIYers should consider upgrading their toolkit with a small propane torch for heating poly pipe (makes coupling installation much easier), stainless steel clamps for superior corrosion resistance, and a wire brush to prep pipe surfaces for proper gluing.
Digging Dos & Don’ts
Smart excavation means hand digging the final 12 inches to avoid pipe damage. Make your trenches 12 inches wider than the pipe on each side – cramped working conditions lead to sloppy repairs. Store excavated soil on a tarp for easy cleanup and always support exposed pipes with blocks to prevent sagging that can stress joints.
What you absolutely shouldn’t do: Never use a power auger near known pipe locations, don’t dig in straight lines since utilities often run parallel to irrigation lines, and resist the urge to rush – hasty digging creates more problems than it solves.
Cape Cod’s sandy soil can be forgiving, but proper preparation prevents those “why didn’t I think of that?” moments. More info about repairs includes specific techniques for working with our local soil conditions.
Irrigation Pipe Leak Repair: Step-by-Step Fixes
Most irrigation pipe leak repair jobs boil down to three questions:
1. What kind of pipe is leaking?
2. How big is the damage?
3. How easy is it to reach?
Answer those and the right fix becomes obvious.
Small-Nick PVC Patch Method
A weed-eater groove or shovel scrape smaller than a pencil eraser rarely needs full pipe replacement. Cut a 1 in. piece of thin-wall PVC, slice it lengthwise, prime, glue, and snap it over the nick. Hold 30 sec. Then wait the 3-minute set time before a gentle test. Done.
Replacing a Damaged PVC Section (Schedule 40)
Cracks longer than ¼ in. or multiple weak spots call for new pipe. Expose 12 in. on each side, cut out the bad piece, dry-fit the replacement, then use purple primer and PVC cement. Hold each coupling 15 sec. and let everything cure 20 min before turning water back on. Telescopic couplings are life-savers if your cut isn’t perfect.
Poly & Swing Pipe Splices
For flexible poly tubing (“funny pipe”), glue doesn’t work—you need friction. Heat pipe ends for a few seconds with a small propane torch for easier stretching, push a barbed coupler in, then tighten stainless clamps directly over the barbs. There’s no cure time, so you can test immediately.
Drip Line Quick Repairs
Low-pressure drip tubing is forgiving. Seal tiny holes with goof plugs, or cut out damaged sections and re-join with straight tubing couplers. Wildlife damage? Slip a protective sleeve over the problem area after the fix.
Patch or Replace? Making the Call
Use this 10-second checklist:
* Damage < ¼ in. and pipe < 10 yrs old → Patch
* Damage > ¼ in., repeated leaks, or brittle pipe → Replace
* Freeze or root damage anywhere in the zone → Replace the entire suspect length
Cape Cod’s sandy soil drains fast, so either repair style lasts if the joint is solid. If you’ve patched the same spot twice, stop the madness—swap the whole section.
Work methodically, keep fittings clean, and most repairs take under an hour.
Test, Backfill & Prevent Future Leaks
Your irrigation pipe leak repair isn’t finished when you tighten the last clamp. The real test comes when you turn the water back on and cross your fingers that everything holds.
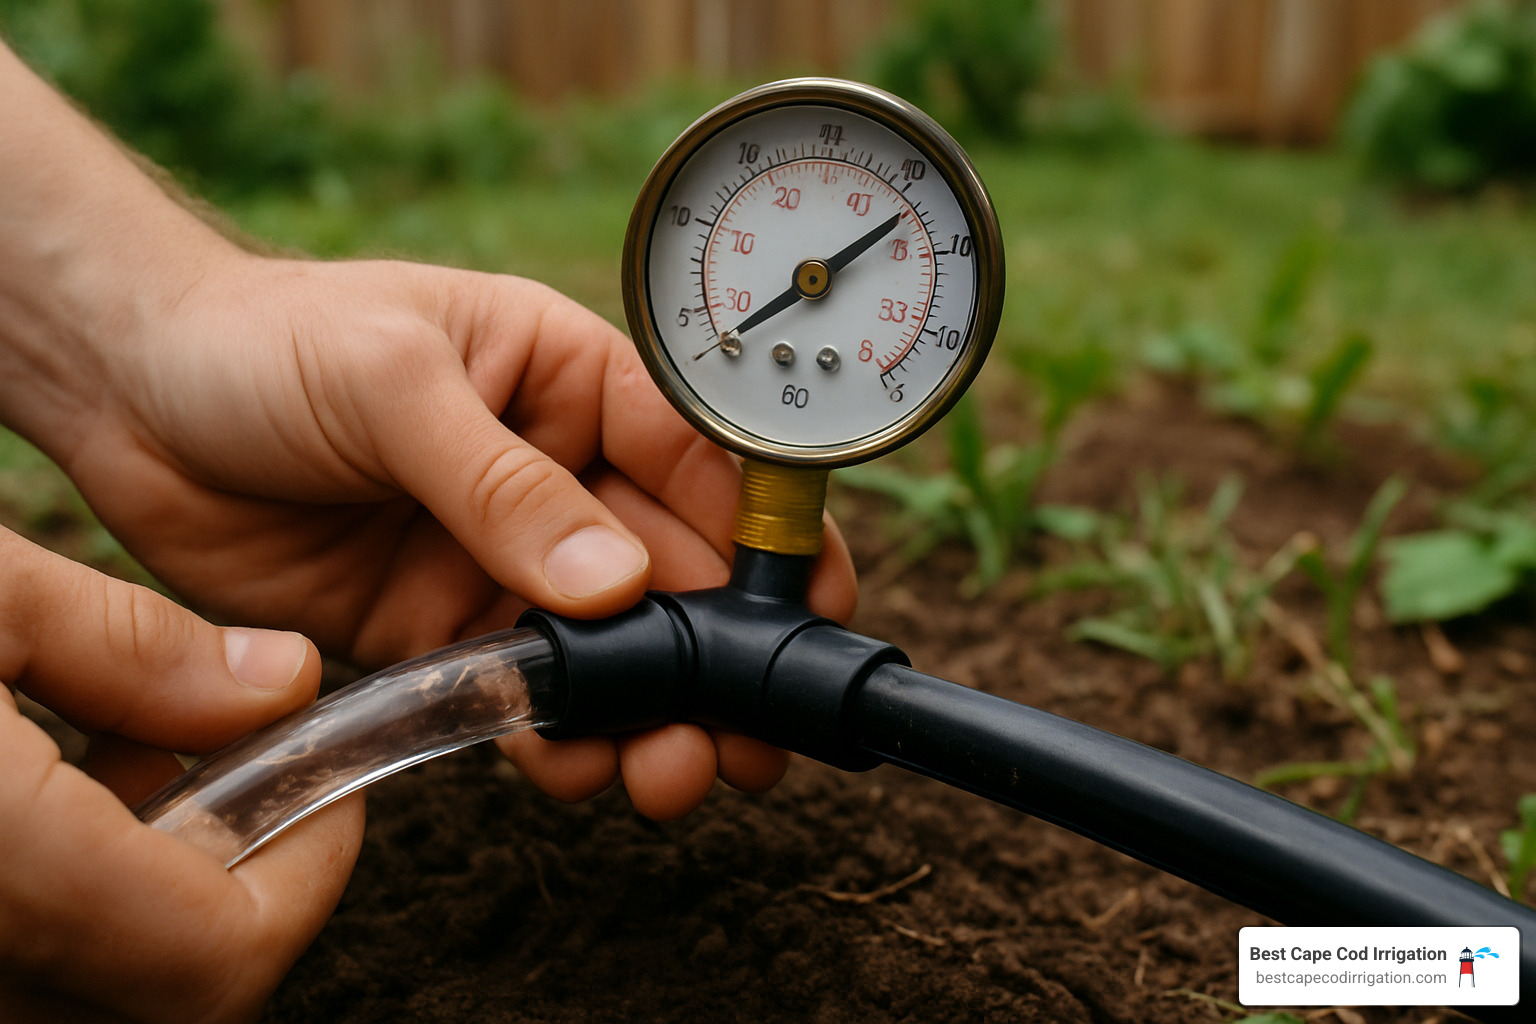
The moment of truth starts with patience. Turn your water supply back on slowly – rushing creates pressure shocks that can blow apart fresh repairs. Think of it like easing into a cold Cape Cod bay rather than diving headfirst.
Run each repaired zone for a full 5 minutes while you watch like a hawk. This isn’t the time to multitask. Look for any weeping around joints, new wet spots, or that telltale hissing sound that means you’re not done yet.
Your water meter becomes your best friend during testing. After running your test cycle, turn everything off and watch that flow indicator. If it’s still spinning, you’ve either got another leak or your repair didn’t hold.
If you have a pressure gauge, use it. Your system pressure should match what it was before the leak developed. Significantly lower pressure often means there’s still a problem somewhere in the line.
Now comes the satisfying part – putting your yard back together. Don’t just dump all that excavated soil back in the hole at once. Layer it back in 6-inch lifts, tamping gently with your feet. This prevents settling that could stress your new repair.
Cape Cod’s sandy soil actually helps here – it compacts easily and drains well. But that also means you need to water lightly after backfilling to help eliminate air pockets and settle everything naturally.
Save those chunks of grass you carefully removed during excavation. They’ll replant much better than trying to grow new grass over disturbed soil.
Prevention beats repair every single time. The biggest enemy of irrigation pipes in our area? Freeze damage from improper winterization. Those beautiful fall days can trick you into thinking winter’s still far away, but one surprise freeze can crack pipes throughout your system.
Smart controllers aren’t just fancy gadgets – they prevent the overwatering that stresses pipe joints and creates the soggy conditions where problems multiply. Plus, they adjust automatically for Cape Cod’s unpredictable weather patterns.
Make seasonal inspections part of your routine. Walk your system 2-3 times per year, looking for the same signs that led you to this repair. Early detection means easier fixes and lower water bills.
More info about maintenance specific to Cape Cod’s unique climate and soil conditions can help you stay ahead of problems.
Irrigation Pipe Leak Repair Testing Checklist
Before you declare victory over your irrigation pipe leak repair, run through these critical checkpoints. Missing even one can mean redoing everything in a few weeks.
Your first 10 minutes tell the story. No visible water around the repair site means you’re off to a good start. System pressure should feel normal at sprinkler heads – weak spray patterns often indicate ongoing leaks elsewhere.
Listen carefully for unusual sounds. Hissing or gurgling noises that weren’t there before usually mean air is getting into the system through a loose connection. Repair joints should stay completely dry during this initial test.
The 30-minute extended test separates the pros from the wishful thinkers. Soil around your repair should stay dry, and your water meter should confirm no ongoing leaks when the system is off. All zones need to function normally, with no pressure drops across the system.
Don’t skip the 24-hour follow-up – it’s when many amateur repairs reveal their weaknesses. Check for settling or sinking around the repair site, which could indicate water is still escaping underground.
The best repairs are the ones you never have to think about again. Take the time to test thoroughly now, and you’ll avoid the frustration of digging up the same spot next month.
DIY vs Hiring a Pro: Time, Cost & Peace of Mind
Here’s the honest truth about irrigation pipe leak repair costs: most DIY fixes take 2-4 hours of your weekend and run $40-70 in materials. Professional repairs? You’re looking at $150-700 on average, depending on what’s broken and where it’s hiding.
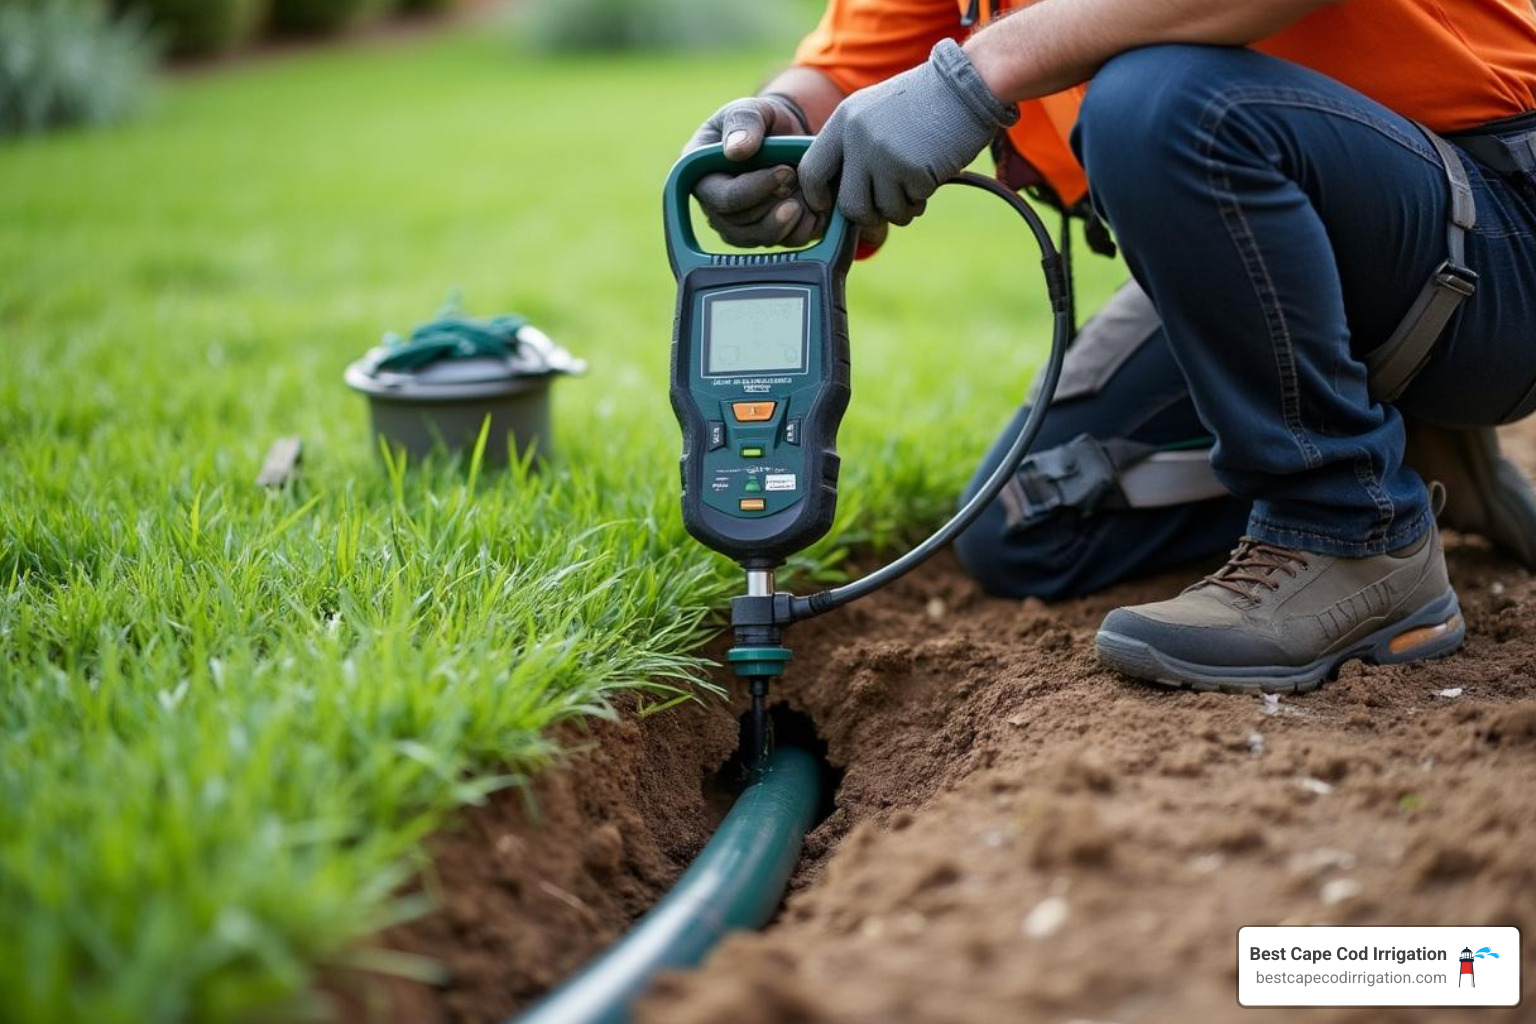
But cost isn’t everything. When you tackle the repair yourself, you get immediate action – no waiting three days for an appointment while water gushes into your flower bed. There’s also something satisfying about learning new skills and having that “I fixed it myself” moment when everything works perfectly.
The DIY route makes perfect sense when you’re dealing with accessible leaks in standard PVC or poly pipe, especially if you’ve done basic plumbing before. You’ll save money, learn something useful, and probably finish faster than scheduling and waiting for a service call.
Professional repairs shine when complexity enters the picture. Pros bring warranties that protect your investment, plus they spot hidden problems that might bite you later. They also have specialized tools that make certain jobs much easier – ever tried to repair a pipe under a concrete walkway with a shovel?
Time pressure changes everything. If you run a business or just had expensive landscaping installed, the cost difference between DIY and professional suddenly matters less than getting it done right the first time.
Average cost breakdown based on internet data: Simple patches run $15-40 for DIY materials, while section replacements cost $40-70. Professional service calls start around $150-300, with complex repairs reaching $300-700. Emergency after-hours service can hit $400-1,200. These are average costs based on internet data and not actual costs for Best Cape Cod Irrigation services.
When Your Irrigation Pipe Leak Repair Needs a Pro
Some situations scream “call the experts” from the moment you spot them.
Multiple zone failures usually mean your mainline has issues – and mainline problems require serious excavation and system knowledge. Valve box flooding looks scary because it often is – valve replacements need specialized parts and techniques that most homeowners don’t have.
Location matters tremendously. Leaks under concrete, pavers, or near property lines often need trenchless repair methods or careful boundary considerations. Deep mainline breaks require heavy equipment that’s not exactly available at your local tool rental.
Commercial properties can’t afford extended downtime, and newly landscaped areas need gentle handling that professional experience provides. When you absolutely need it done right the first time, professional expertise eliminates the “oops, now I need to call someone anyway” scenario.
More info about scheduling repairs with experienced Cape Cod technicians who understand local soil conditions and common system types.
The bottom line? Simple, accessible repairs are perfect DIY projects that save money and build confidence. Complex, risky, or time-sensitive repairs justify professional costs through expertise, warranties, and peace of mind.
Frequently Asked Questions about Irrigation Pipe Leak Repair
Let’s tackle the most common questions we hear about irrigation pipe leak repair. These answers come from real Cape Cod homeowners who’ve been exactly where you are right now.
How soon can I test PVC joints after gluing?
Here’s the honest truth: wait at least 20 minutes for your first gentle test, but give it 2 full hours before running full pressure through the system.
I know it’s tempting to turn that water back on immediately – especially when you’re kneeling in mud and getting eaten alive by mosquitoes. But PVC cement isn’t just glue – it’s actually melting the pipe surfaces together to create one solid piece.
The joint might feel rock-solid after 20 minutes, but that’s just the surface. The real strength develops over several hours as the chemical reaction completes. Cape Cod’s humidity actually slows this process down, so patience pays off.
Cold weather changes everything. If you’re doing emergency repairs when it’s below 40°F, that cure time can double or triple. Consider switching to compression fittings for winter repairs – they work immediately and don’t care about temperature.
Is it safe to patch a pipe during rainy weather?
Short answer: probably not – but you’ve got options that work great in wet conditions.
Traditional PVC cement needs dry surfaces to create that chemical bond we talked about. Trying to glue wet pipes is like trying to put a Band-Aid on in the shower – it’s just not happening.
But don’t panic if you’ve got water gushing everywhere during a rainstorm. Compression couplings are your best friend in wet weather. They create mechanical seals using rubber gaskets and metal clamps, so they couldn’t care less about moisture.
Epoxy putty also works underwater – though it’s more of a temporary fix while you wait for better conditions. Some of our customers have successfully used it to stop emergency leaks during nor’easters.
Emergency dry-out trick: If you absolutely must make a glued repair in wet conditions, use a small propane torch to dry the pipe surface completely. Work fast though – moisture returns quickly in humid conditions.
What causes repeated leaks in the same spot?
Nothing’s more frustrating than fixing the same leak three times. If you’re dealing with repeat offenders, something bigger is going on that needs addressing.
Soil movement is the biggest culprit here on Cape Cod. Our sandy soil shifts dramatically through freeze-thaw cycles, putting constant stress on rigid pipes. What starts as a tiny crack becomes a full break as the ground moves.
Tree roots never give up. Even after you’ve cleared them away, they grow back with a vengeance. Oak and maple roots are particularly aggressive – they’ll find that repair joint and push until something gives.
Poor initial repairs often fail because they don’t address the underlying stress. Slapping a patch over a crack without fixing what caused the crack just delays the inevitable.
Here’s the bottom line: If you’ve repaired the same spot twice, it’s time to replace that entire section and figure out what’s really causing the problem. Install expansion joints for soil movement areas, add root barriers around aggressive trees, or consider pressure-reducing valves for water hammer issues.
Conclusion
You’ve just gained a superpower – the ability to tackle irrigation pipe leak repair like a pro. But this isn’t just about fixing today’s soggy mess in your yard. It’s about becoming the hero your Cape Cod landscape deserves, season after season.
Think about it: every leak you catch early saves you from that heart-stopping moment when you open your water bill. Every proper repair protects the lawn you’ve worked so hard to perfect. And every skill you master means one less panicked call to a repair service on a Saturday morning.
The ripple effects go way beyond your property line. When you fix leaks promptly, you’re joining Cape Cod’s water conservation effort. Our peninsula’s delicate ecosystem depends on responsible water use, and that single dripping pipe you repair today could save 300+ gallons this month alone.
Your wallet will thank you too. The average Cape Cod homeowner deals with 2-3 irrigation hiccups each year. Master these repair techniques now, and you’ll handle most issues with a quick trip to the hardware store instead of an expensive service call.
Here’s what really matters: a well-maintained irrigation system is your lawn’s best friend through our crazy Cape Cod weather. From brutal nor’easters that freeze pipes to summer droughts that stress every blade of grass, your system needs to perform flawlessly. Regular inspections, smart winterization, and quick leak fixes keep everything running smoothly for decades.
Whether you’re the type who loves getting your hands dirty or you prefer working with professionals, understanding these fundamentals puts you in control. You’ll know when a repair is within your wheelhouse and when it’s time to call in the experts.
Your Cape Cod landscape is an investment worth protecting. With these skills in your toolkit, you’re ready to keep it green, healthy, and beautiful – no matter what Mother Nature throws your way.
More info about Irrigation System Installation and how proper initial setup prevents many common leak issues.